Overview
Loggly is a cloud-based logging service that mines log data in real time to provide actionable insights. Loggly collects data using existing open standards like syslog and HTTP.
CloudMonix integrates with Loggly by sending notifications as log entries. Just like with other types of notifications, users can control what notifications are sent to Loggly based on the resource, resource group, alert severity, etc.
Three general steps to integrate CloudMonix with Loggly
Get Customer Token from Loggly
Set up the Loggly integration definition in CloudMonix
Tell CloudMonix what notifications should be sent to Loggly
Detailed steps to integrate CloudMonix with Loggly
Log in to the Loggly website.
Copy the Customer Token (Source Setup > Customer Tokens).
-
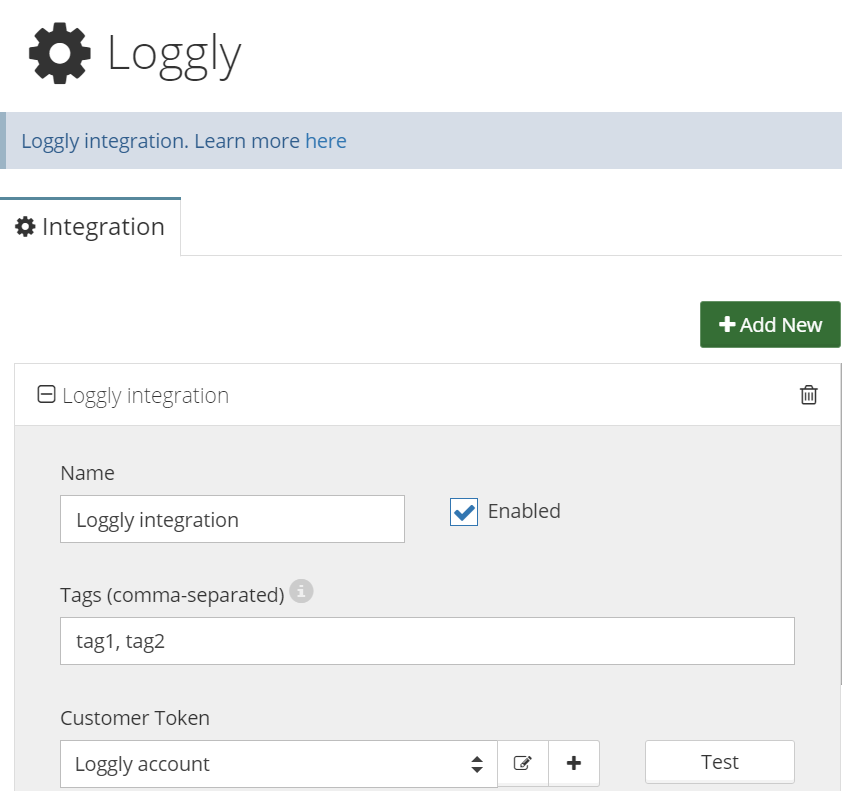
In CloudMonix open the Loggly integration dialog (Account Settings > Integrations > Loggly). Add new Customer Token (click + button). Enter the copied Customer Token.
In the Loggly integration configuration dialog you can provide optional tags, which will be included in the notification sent to Loggly.

Press the Test button in CloudMonix Loggly integration dialog, to verify that integration is setup correctly. After a moment you should see a new log entry in the Loggly Dashboard. The entry should look similar to shown below.

In the Notifications screen (Account Settings > Notifications) create a new rule for sending notifications from CloudMonix to Loggly. Decide what information will be posted to Loggly by adjusting the Minimum Severity value and optionally disabling sending certain types of notifications in the Do not Send section. Learn more about Notification Management here.


